WordPress is the most widely used CMS in the world, and it is estimated that over a third of all websites today are running on it. In this tutorial, we are going to learn how to use WordPress to run on Ubuntu version 20.04. This tutorial will cover the installation of WordPress on Ubuntu with the help of Apache and MariaDB. We will also cover the installation of LAMP Stack (PHP7.4) on Ubuntu.
Prerequisite
1️⃣ In order to follow this step-by-step tutorial, you’ll need to have the latest version of Ubuntu (Ubuntu 22.04) running on your remote server.
If you’re looking for a VPS, Contabo is a great option. You’ll get a 30-day free trial, and you’ll get access to data centers all over the world (U.S., Canada, UK, Germany, The Netherlands, Hong Kong, and Israel).
You’ll also get access to high-performance, KVM based VPSs.
You can get a VPS from Contabo for as little as $4 per month (1GB of RAM).
2️⃣ In addition, you need a domain name so that visitors can enter a domain address in the browser address bar to visit your website.
3️⃣ I registered my domain name on NameCheap because NameCheap has a low price and offers whois privacy protection for free for the life of the domain.
This tutorial assumes that you already have a LAMP stack installed on your Ubuntu 20.04 desktop. If you do not, please refer to the following tutorial:
Step 1: Download WordPress
SSH into your Ubuntu 20.04 server and update existing software.
# sudo apt update && sudo apt upgradeNext, navigate to the WordPress download page and click on the zip archive link. The direct download link can be obtained by clicking on the download button, and then select the copy link location.
Next, go to the command line and type wget followed by a direct download link to install WordPress on Ubuntu 20.04.
# wget https://wordpress.org/latest.zipNext, extract the archive to the /var/www/ directory with unzip.
# sudo apt install unzip# sudo mkdir -p /var/www/# sudo unzip latest.zip -d /var/www/The target directory is specified by the -d option. The WordPress web files are extracted to the directory /var/www/wordpress.
We can rename the directory as shown below to make it easier for us to find each directory.
For example.com, substitute the real domain name.
# sudo mv /var/www/wordpress /var/www/example.com
Step 2: Create a Database and User for WordPress Site
Log into MariaDB shell as root with the following command.
# sudo mariadb -u rootOR
# sudo mysql -u rootUse the following command to create a new template for WordPress. I have named it wordpress. You can use any name you want, like your site name. Note: Do not omit the semicolon.
create database wordpressdb;
Next, run the following command to create a WordPress database user.
This command also gives the user all the rights of the WordPress database.
Then, replace wpuser and your-password. Which you want to Create for WordPress.
Finally, replace your password and username with your preferred user name and password.
grant all privileges on wordpressdb.* to wpuser@localhost identified by 'your-password';
Flush the privileges table for the changes to take effect and then exit out of MariaDB shell.
flush privileges;exit;Step 3: Configure WordPress
Go to your WordPress directory.
cd /var/www/example.com/Copy the sample configuration file and rename it to wp-config.php.
sudo cp wp-config-sample.php wp-config.phpNow edit the new config file with a command-line text editor like Nano.
sudo nano wp-config.phpNext, locate the following rows. Replace the red text with your database name, user name and password as specified in Step 1.
/** The name of the database for WordPress */
define('DB_NAME', 'database_name_here');

/** MySQL database username */
define('DB_USER', 'username_here');

/** MySQL database password */
define('DB_PASSWORD', 'password_here');
To save and close the file, hit Ctrl+O to save the file in nano text editor, then hit Enter to close the file, then hit Ctrl+X to close the file.
Next, we need to set the owner of WordPress site directory as the Apache user ( www-data) using the following command:
sudo chown www-data:www-data /var/www/example.com/ -RStep 4: Create an Apache Virtual Host file for WordPress
To set up a virtual host for your WordPress site, run the following command in the file name “sites-available” in the directory “etc/apache2”:
sudo nano /etc/apache2/sites-available/example.com.confEnter the following text in the file. Add your domain name to the red text. Do not forget to create an A record for your domain in the DNS manager.
<VirtualHost *:80>
        ServerName www.example.com
        ServerAlias example.com

        DocumentRoot /var/www/example.com

        #This enables .htaccess file, which is needed for WordPress Permalink to work.
        <Directory "/var/www/example.com">
             AllowOverride All
        </Directory>

        ErrorLog ${APACHE_LOG_DIR}/example.com.error.log
        CustomLog ${APACHE_LOG_DIR}/example.com.access.log combined
</VirtualHost>
Save and close the file. Then test configurations.
sudo a2ensite example.com.confAnd reload Apache for the changes to take effect.
sudo systemctl reload apache2Set a correct A record for your domain name, then enter your domain name in browser address bar.
example.comOr
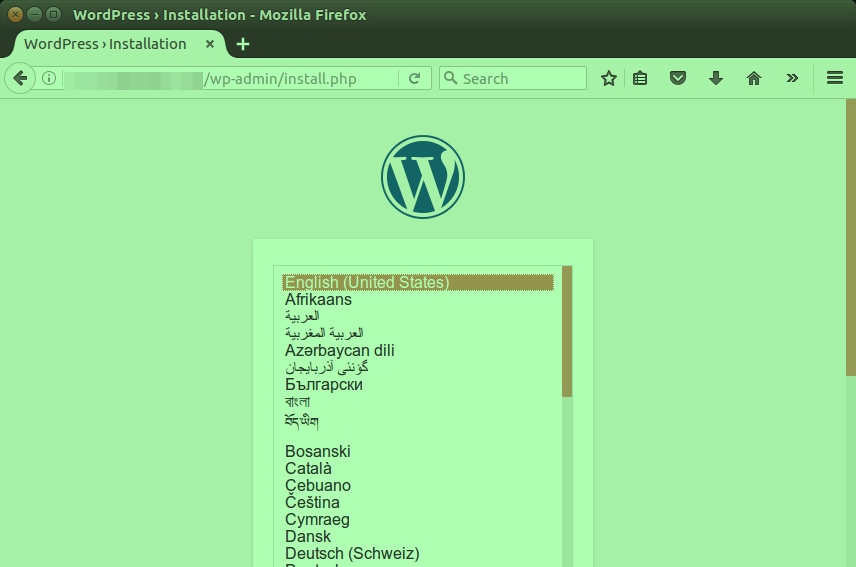
example.com/wp-admin/install.phpYou shall see the WordPress installation wizard. Select a language.
If you don’t see the installation wizard, then you must have installed some PHP8 extensions.
sudo apt install php8-mbstring php8-xml php8-mysql php8-common php8-gd php8-bcmath php8-json php8-cli php8-curl php8-zipThen reload Apache and the wizard should now be displayed.
sudo systemctl reload apache2Make sure to enable HTTPS before entering your sensitive data in the setup wizard to avoid traffic interception.
Step 5: Enabling HTTPS
To enable HTTPS, we need to install a TLS certificate (certbot) issued from Let's Encrypt to encrypt the HTTP traffic. To install Certbot, run the following command on ubuntu 20.04:
sudo apt install certbot python3-certbot-apacheAnd run this command to obtain and install TLS certificate.
sudo certbot --apache --agree-tos --redirect --hsts --uir --staple-ocsp --email you@example.com -d yourdomain.com,www.yourdomain.com
Where,
◾ --apache: Use the Apache plugin.
◾--agree-tos: Agree to terms of service.
◾--redirect: Force HTTPS by 301 redirect.
◾--hsts: Add the Strict-Transport-Security header to every HTTP response. Forcing browser to always use TLS for the domain. Defends against SSL/TLS Stripping.
◾--uir: Add the “Content-Security-Policy: upgrade-insecure-requests” header to every HTTP response.
◾--staple-ocsp: Enables OCSP Stapling. A valid OCSP response is stapled to the certificate that the server offers during TLS.
◾--email: Email used for registration and recovery contact.
◾-d flag is followed by a list of domain names, separated by comma. You can add up to 100 domain names.
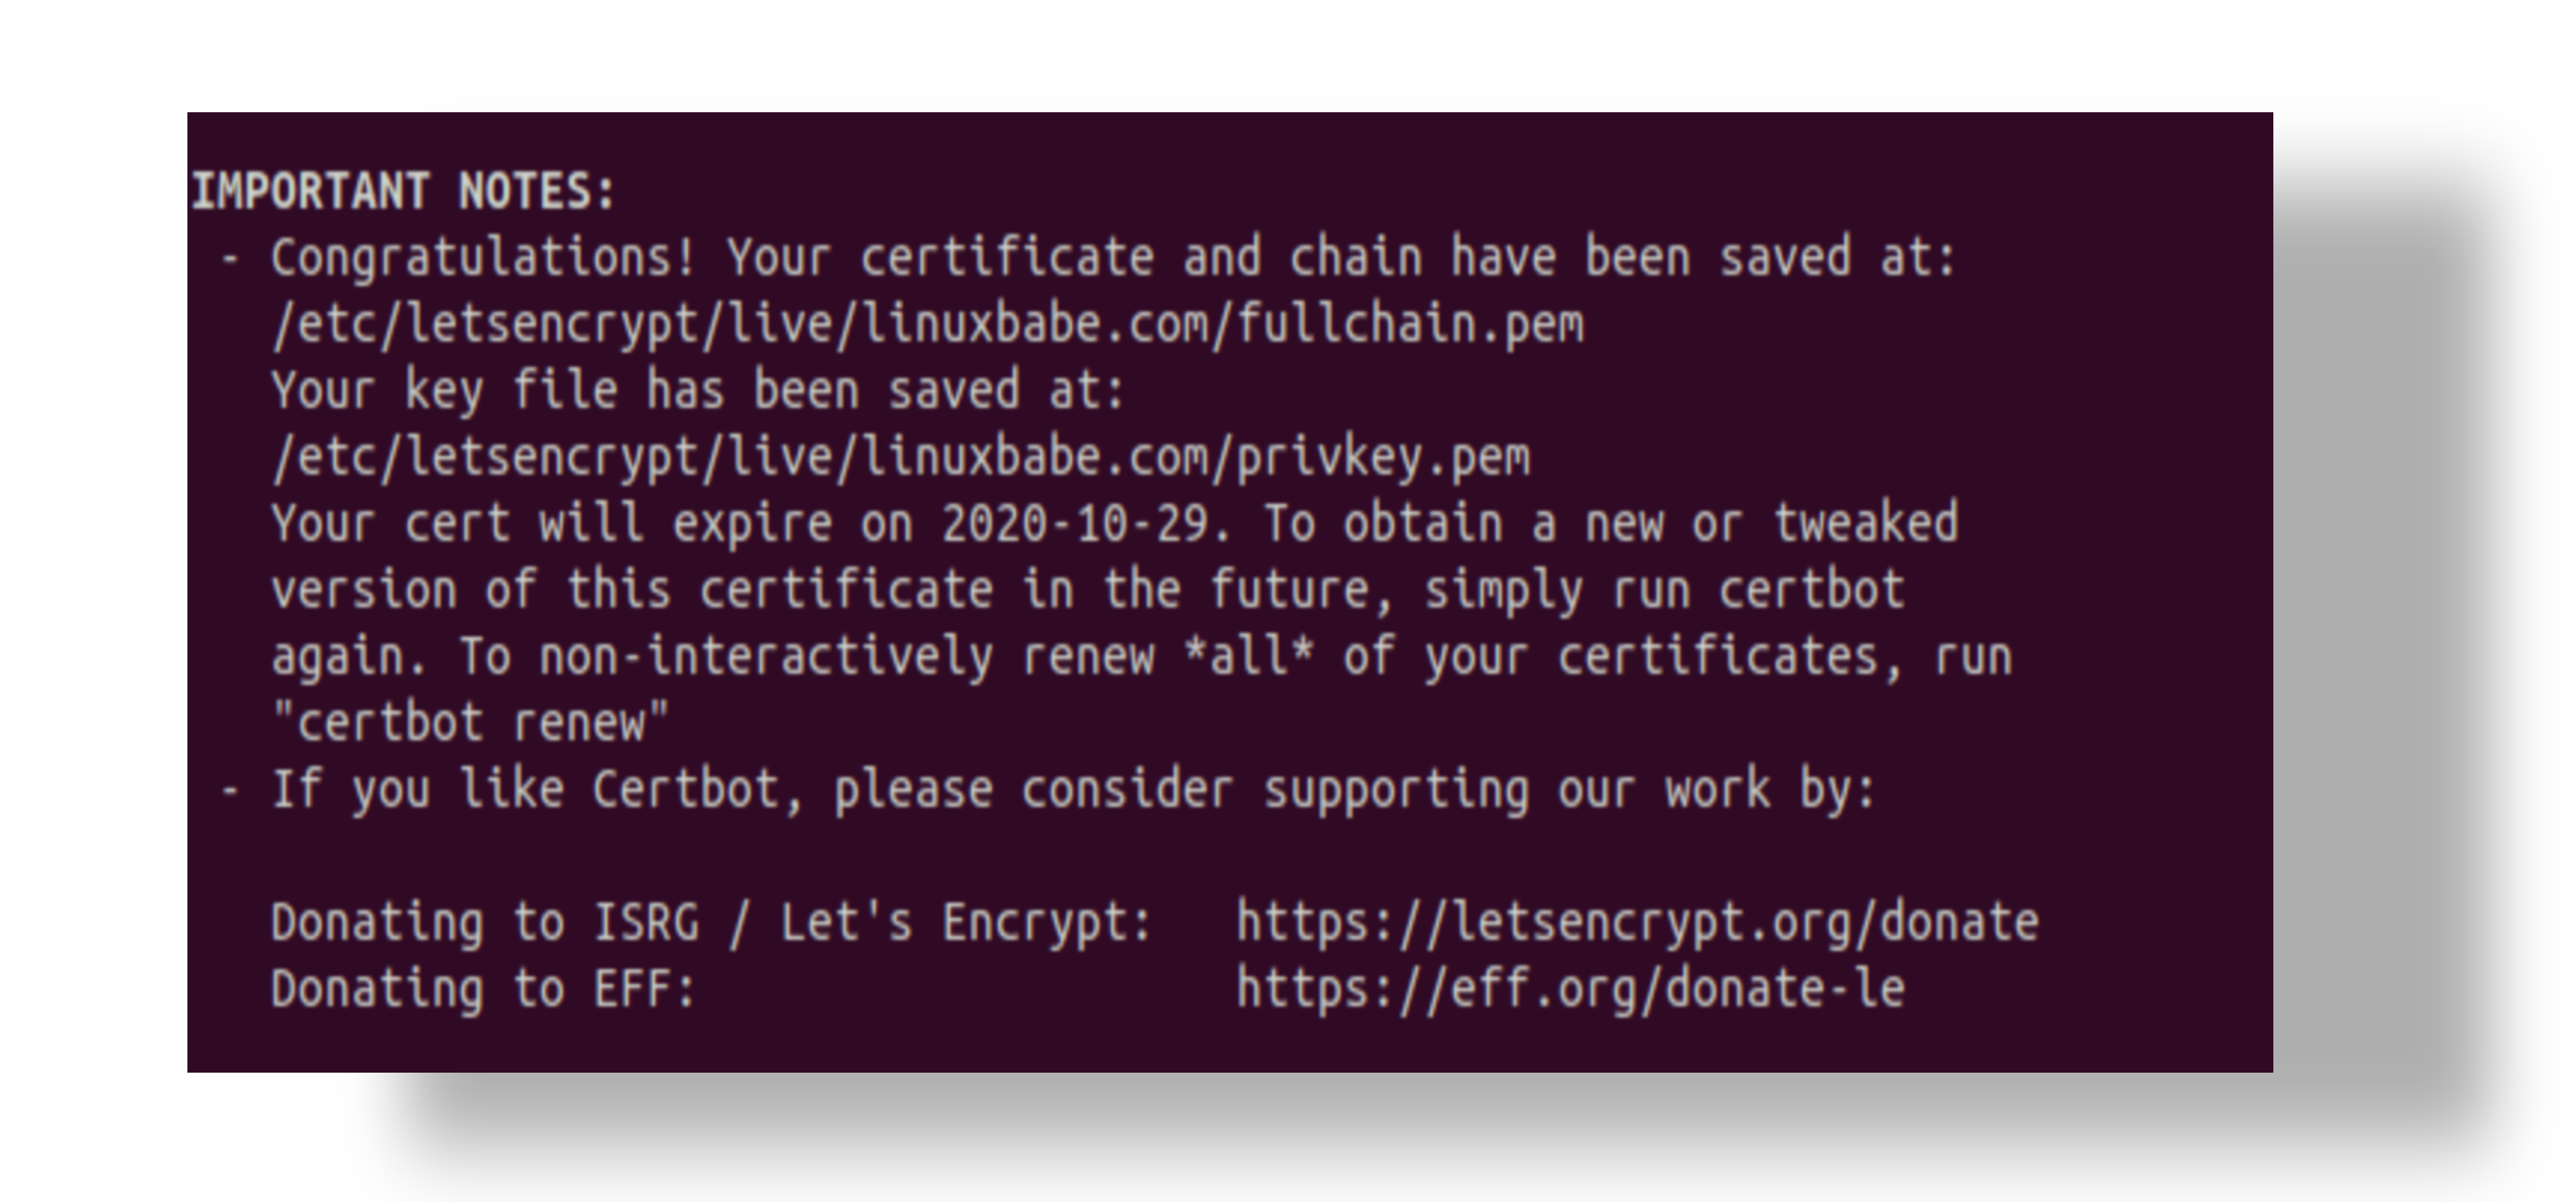
The certificate should now be obtained and automatically installed.
Step 6: Finish the Installation with the Setup Wizard
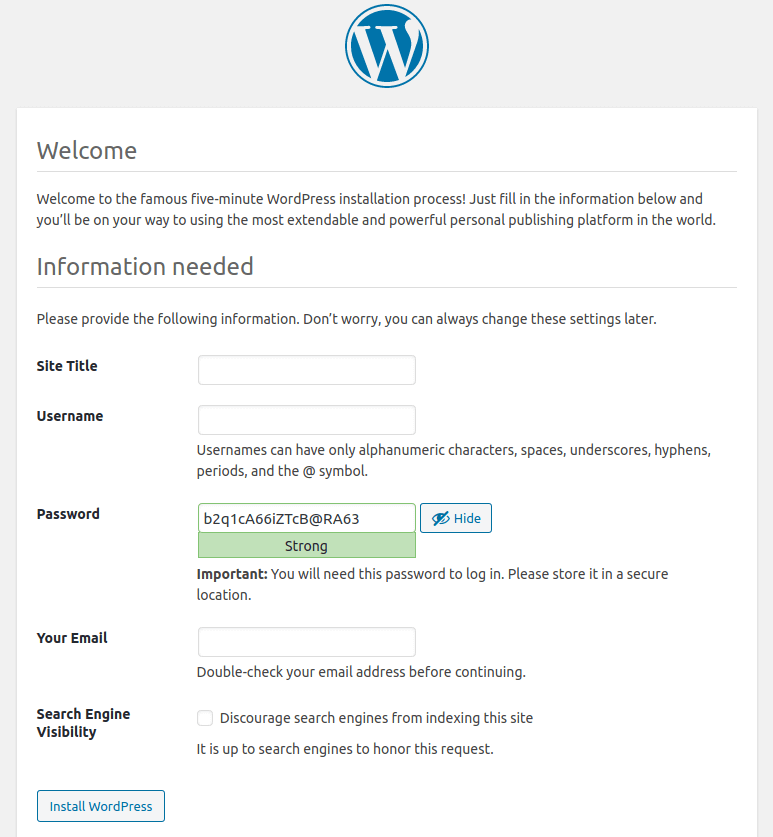
To set up an admin account, click on the Install WordPress button.
Create an admin account
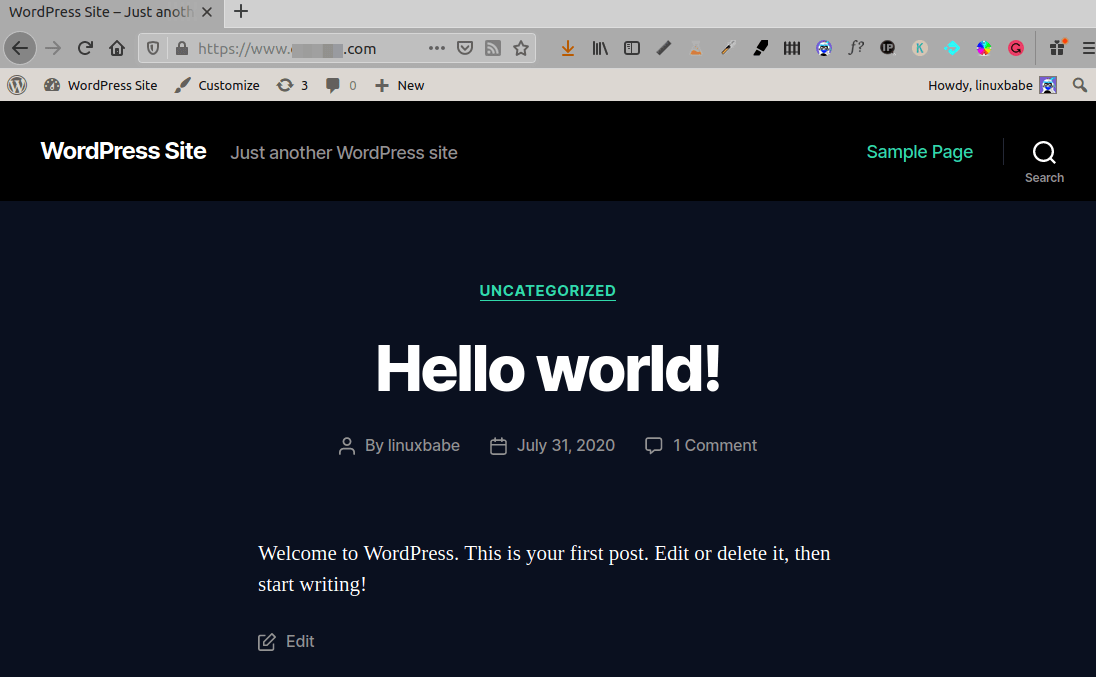
And now your new WordPress site is installed.
Redirecting WWW to Non-WWW (Or Vice-Versa)
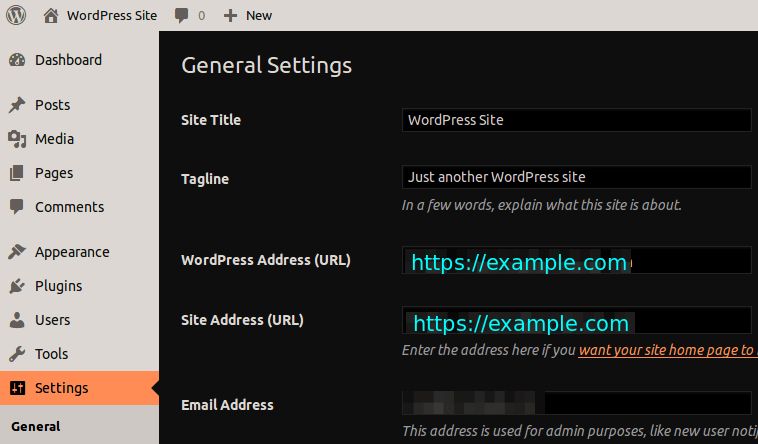
We have already changed HTTP to HTTPS. Now, the only thing left to do is to change the URL to non-www or vice-versa. If you’re using WordPress, it’s a breeze. Go to WordPress Dashboard, Settings > General, and select your preferred version (“www” or “non-www”) in the “WordPress Address” and “Site Address” fields. Make sure to include the “https” in the URL.
Fixing the Double 301 Redirect
We have specified the preferred version of the domain in the WordPress address and Site address fields.
However, there is a problem with the double 301 redirect method. First, the Apache server reroutes the HTTP to HTTPS and then WordPress reroutes it to a site that is not a www domain or a domain that is not a non-www site.
There are some people who say that you will lose the SEO link juice if you do a double 301 redirection.
If you are concerned about this, you can follow the below method to ensure that all domain versions will redirect directly to the end destination and there will be only a single 301 redirection:
Edit the virtual host file (not SSL virtual host)
sudo nano /etc/apache2/sites-enabled/example.com.confCertBot client added the following lines to the file to redirect HTTP to HTTPS.
RewriteEngine on
RewriteCond %{SERVER_NAME} =example.com [OR]
RewriteCond %{SERVER_NAME} =www.example.com
RewriteRule ^ https://%{SERVER_NAME}%{REQUEST_URI} [END,NE,R=permanent]
If you want to re-direct to a non-www or a www domain, you can do this by replacing the last line of the above code with your desired domain version. For example, you can replace the following code with the domain version you want to use: (www domain)
RewriteRule ^ https://www.example.com%{REQUEST_URI} [END,NE,R=permanent]
Then save and close the file. We will also need to edit the SSL virtual host.
sudo nano /etc/apache2/sites-enabled/example.com-le-ssl.confAdd the following lines above the closing </VirtualHost> tag to redirect non-www to www domain.
RewriteEngine on
RewriteCond %{SERVER_NAME} =example.com
RewriteRule ^ https://www.example.com%{REQUEST_URI} [END,NE,R=permanent]
If you want to redirect www to non-www domain, add the following lines instead.
RewriteEngine on
RewriteCond %{SERVER_NAME} =www.example.com
RewriteRule ^ https://example.com%{REQUEST_URI} [END,NE,R=permanent]
Save and close the file. Reload Apache service for the changes to take effect.
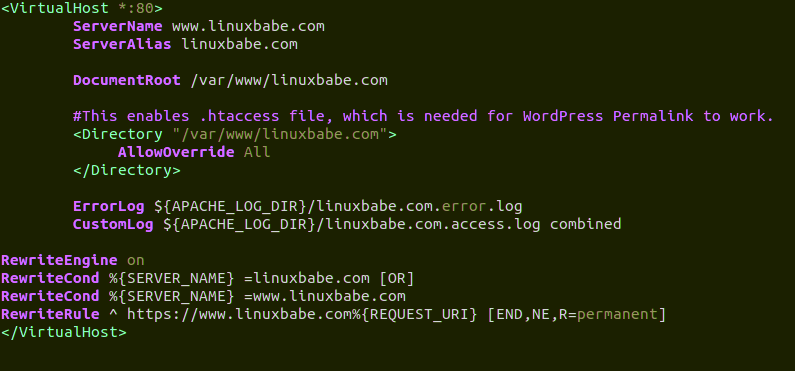
sudo systemctl reload apache2For completeness, here is a picture of my Apache VH file and SSL VH file to redirect non-www domains to a www domain.
Apache2 SSL virtual host file below
Before you edit your Apache virtual host files, make sure you set your desired domain version in the WoredPress Address (WoredPress) and Site Address (Site Address) folders. If your WordPress settings conflict with your Apache configuration, you’ll be stuck in a redirect loop.
Conclusion
I hope that this step-by-step tutorial on how to install WordPress on ubuntu 20.04 with apache, mariadb and php8 helped you. If you liked this post, feel free to sign up for our free newsletter.
It is essential to have a backup plan for your WordPress site in case of any kind of hack, data center disaster, etc.


