VPS (Virtual Private Server) hosting packages have come a long way since the days of shared plans and are now quite affordable. If you are thinking about getting VPS hosting for your next project, you have probably noticed that there are two main types of VPS solutions: Managed and unmanaged.
Today, we are going to look at the UnManaged VPS vs. Managed VPS options for WordPress.
In a nutshell, yes, it does. Both the managed VPS packages and the unmanaged VPS packages (also known as self-managed) support WordPress websites.
WordPress is an open-source CMS that only requires a PHP and MySQL database to run smoothly.
Want to know how to install WordPress on unmanaged VPS? We've got you covered.
In today's post, we'll walk you through the process of installing WordPress on a VPS hosting plan.
Things to know before you start
What should you prepare?
Manually installing WordPress on an unmanaged VPS
Step 1. Install Apache Web Server
# Run this Command Line to install Apache in your server
apt-get install apache2  -y
# Re-start and enable Apache
systemctl start apache2
systemctl enable apache2
Step 2. Install PHP 8
The most recent version of PHP, as of the writing of this article, is the 8.0 version. The 8.0 version has a lot of improvements in performance and new features, so it is always a good idea to install 8.0 on the server.
The 8.0 version is not available in the default repository of Debian 10 / 11, so you will have to add it to the server. To install 8.0, you can use the following command to install the necessary dependencies.
# Install Necessary Dependencies
apt-get install gnupg2 ca-certificates apt-transport-https software-properties-common -y
Next, add PHP Sury to the APT folder and use the following command to add GPG key:
# Add PHP Sury to the APT folderecho "deb https://packages.sury.org/php/ $(lsb_release -sc) main" | tee /etc/apt/sources.list.d/php.list wget -qO - https://packages.sury.org/php/apt.gpg | apt-key add -
Update the repository with PHP 8.0 and install all PHP extensions required for WordPress with the following command:
apt-get update -y
apt-get install php libapache2-mod-php php-pear php-cgi php-common php-mbstring php-zip php-net-socket php-gd php-xml-util php-gettext php-mysql php-bcmath unzip wget git -y
You can now verify the PHP version by running the following command:
php -vSample Out is :-
PHP 8.0.9 (cli) (built: Jul 30 2021 13:09:07) ( NTS )
Copyright (c) The PHP Group
Zend Engine v4.0.9, Copyright (c) Zend Technologies
    with Zend OPcache v8.0.9, Copyright (c), by Zend Technologies
Step 3. Install MariaDB Database Server
apt-get install mariadb-server mariadb-client -yOnce MariaDB is installed, run MariaDB and allow MariaDB to run at system startup.
systemctl start mariadb
systemctl enable mariadb
MariaDB installation is unsecured by default. To unsecured MariaDB installation, use the following script:
mysql_secure_installationYou’ll be asked to: Set a root password for MariaDB, Remove anonymous users, Disallow root login remotely, Disallow test database as described below.
Enter current password for root (enter for none):
Change the root password? [Y/n] Y
New password:
Re-enter new password:
Remove anonymous users? [Y/n] Y
Disallow root login remotely? [Y/n] Y
Remove test database and access to it? [Y/n] Y
Reload privilege tables now? [Y/n] Y
Step 4. Create a WordPress Database
Next, you’ll need to set up your WordPress database and user interface on MariaDB. The first step is to connect to MariaDB using the following command:
mysql -u root -pEnter the root password for MariaDB and then run the following command to create the database and user:
CREATE DATABASE wordpressdb;
GRANT ALL PRIVILEGES ON wordpressdb.* to wordpressuser@localhost identified by 'strongpassword';
Next, clear the permissions to execute the changes and close MariaDB with the following command:
FLUSH PRIVILEGES;
QUIT;
Step 5. Download and install WordPress in Your VPS
cd /var/www/htmlThen use wget to get download the most recent version of WordPress.
Next, open the downloaded file and use the unzip command to unzip it:
unzip latest.zipThen, change the name of the directory to your chosen domain name.
Next, go to yourdomain.com directory and make a copy of the sample configuration file.
cd yourdomain.com
cp wp-config-sample.php wp-config.php
Next, go to your WordPress configuration file and set up your database settings:
nano wp-config.phpChange the following lines that match your database settings:
/** The name of the database for WordPress */
define( 'DB_NAME', 'wordpressdb' );

/** MySQL database username */
define( 'DB_USER', 'wordpressuser' );

/** MySQL database password */
define( 'DB_PASSWORD', 'strongpassword' );

/** MySQL hostname */
define( 'DB_HOST', 'localhost' );

define('FS_METHOD', 'direct');
Once you are done, save the file. Then, modify the domain.com ownership to www-data.
Step 6. Create Apache Virtual Host for WordPress
Add the following Lines
<VirtualHost *:80>
ServerAdmin user@yourdomain.com
        ServerName yourdomain.com
        DocumentRoot /var/www/html/yourdomain.com

        <Directory "/var/www/html/yourdomain.com">
             AllowOverride All
        </Directory>

        ErrorLog ${APACHE_LOG_DIR}/yourdomain.error.log
        CustomLog ${APACHE_LOG_DIR}/yourdomain.access.log combined
</VirtualHost>
After saving and closing the file, check the configuration file to see if there are any syntax errors.
apache2ctl configtestOut put
Syntax OKNext, run the following command to run the rewrite module on your Apache virtual host:
a2ensite yourdomain
a2enmod rewrite
Finally, run the Apache service again to execute the configuration changes.
systemctl restart apache2Step 7. Enable https or SSL Certificate in Your Website
Now, go to your WordPress site and execute the following command to get and install the LETS Encrypt certificate.
This command downloads the Let's Encrypt SSL certificates and configures your Apache server to use them.
The next step is to create a cron task to automatically renew the Let's Encrypt certificate. To create the cron task, modify the following command:
crontab -eAdd here following Lines
Once you are done saving and closing the file, run the above cron job on a daily basis and automatically renew SSL certificates when they expire.
Step 8. Access Your WordPress Website
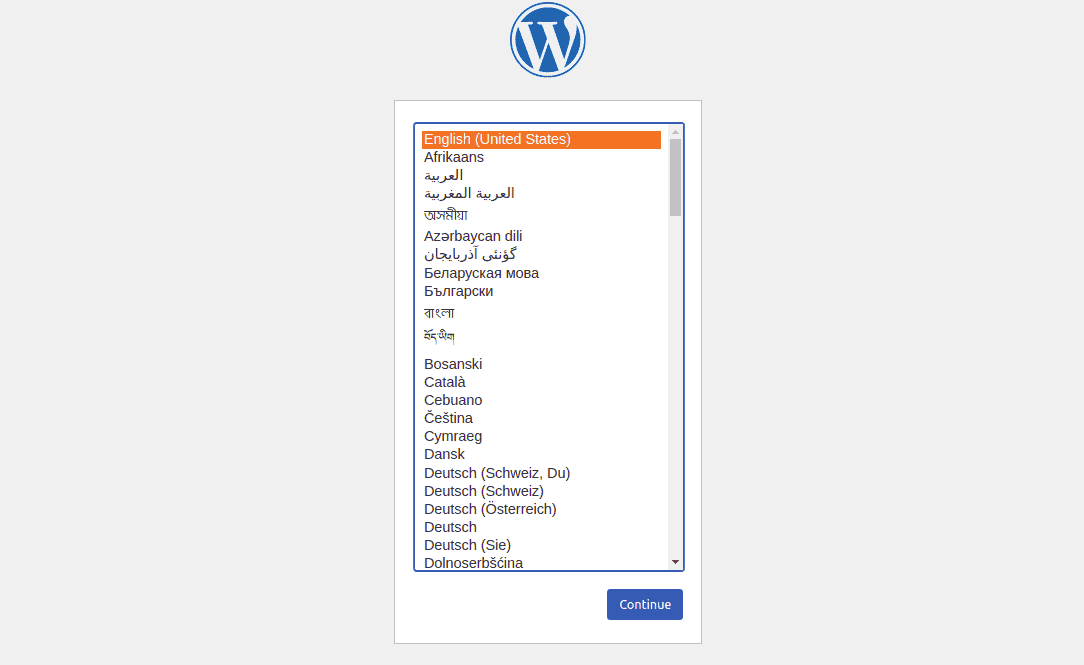
Choose the language you want to use and click Continue. You should now be in the WordPress site settings screen.
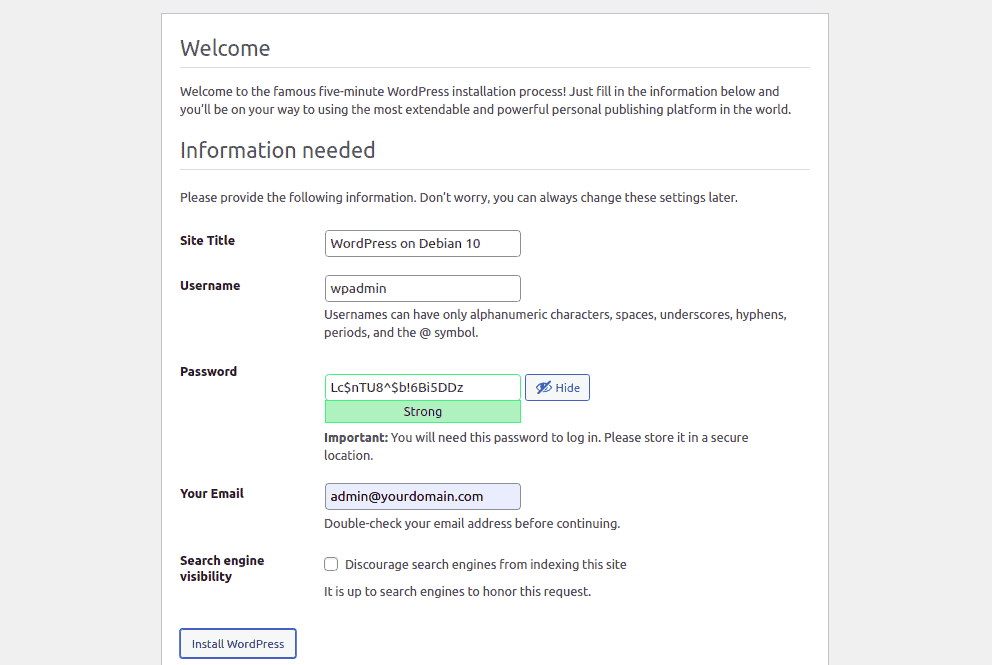
Enter your site details and click Install WordPress.
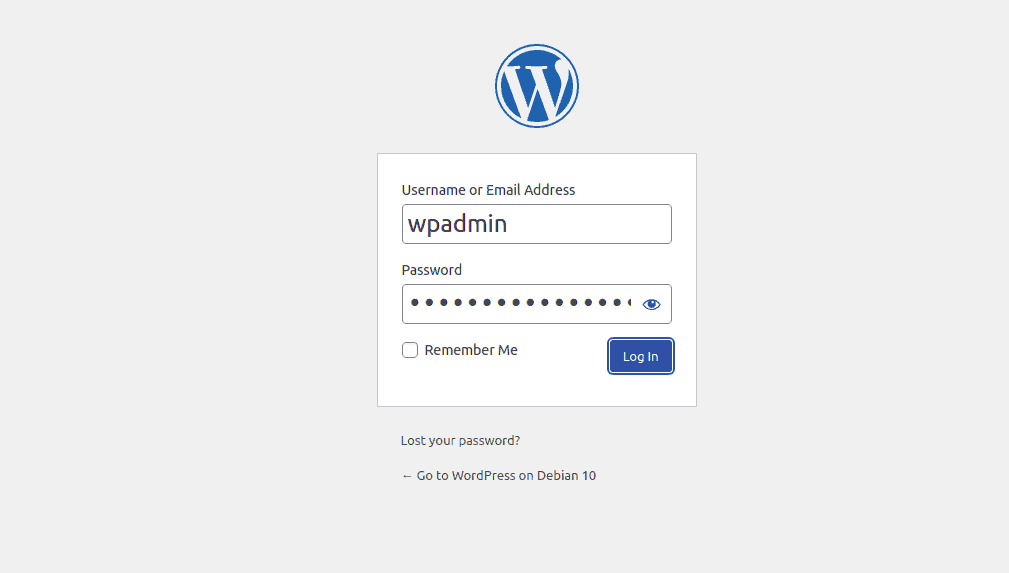
Once the installation is complete, you’ll see the following:
Click on the 'Login' button. You'll be taken to the WordPress login page.
Conclusion
If you want to Setup Your WordPress in Other installation Process. Click the below article to learn more Tutorial Guide.
👉 Self managed VPS install WordPress With Webionly.
👉 Self managed VPS install WordPress With EasyEngine.


