WordOps is an easy-to-use command-line tool that allows you to easily deploy WordPress sites using optimized LEMP stacks. LEMP stands for Linux Operating System; Nginx is a web server; and MySQL is a database with dynamic processing done by PHP.
Install WordOps In Vultr Server With 250$ Free Credit Account. Click here
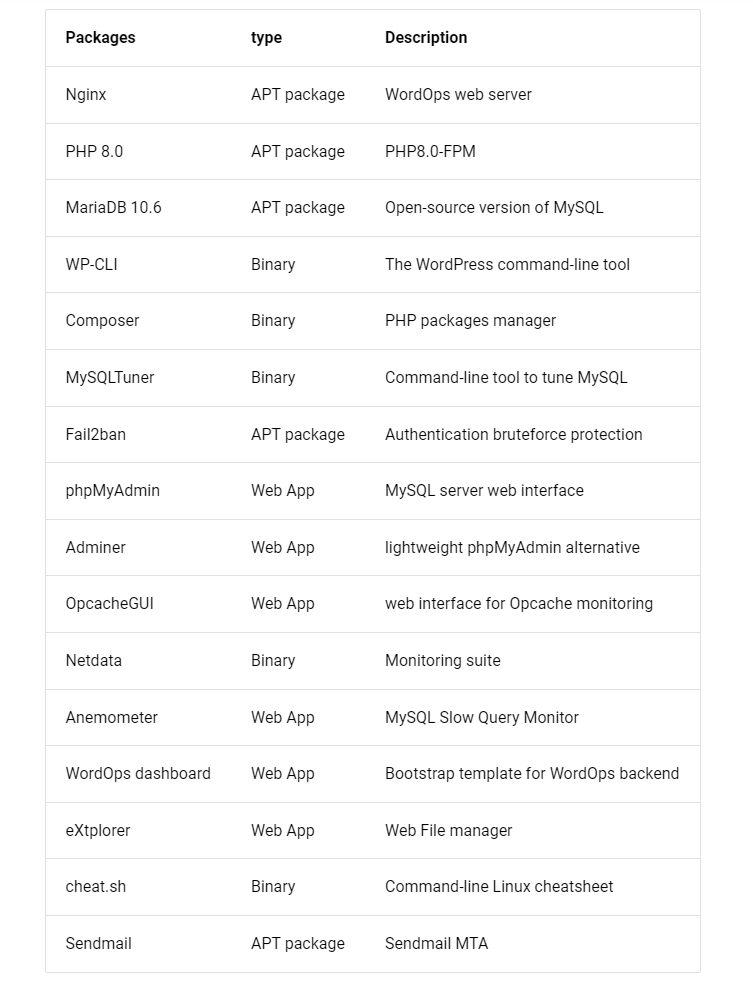
WordOps makes it easy to install and configure all the packages needed to deploy your site from LEMP stack, while also managing the creation of Nginx virtual hosts, WordPress installation, and SSL certificate installation. It also installs components that enable you to view statistics about your server's workload.
In this step-by-step tutorial, we'll show you how to install WordPress on your Ubuntu 22.4 machine and discuss some of the additional features WordOps provides.
The main reason I wrote this tutorial is because I know a lot of users don’t want to install WordPress on their own server because they don’t think they’re ready.
A while back, I wanted to switch from shared hosting to DigitalOcean $5 because I wanted better performance for a lower price.
I’m not saying shared hosting is a bad choice, it’s just that it was the right choice at the time.
It was a pain to switch to DigitalOcean because I had very little experience with Linux.
I believe that WordOps can help a lot of users who are in this situation, and I believe it’s a little less well known than it should be.
It would have been great to know about this solution when I was just starting out.
It only took a few commands and input when prompted. The entire process took around 7 minutes, but that was only because we had to wait for WordOps and all its dependencies to download and install. I think this is an exception, because in most cases, we are done in under 5 minutes.
The main purpose of this video is to show you how quickly and easily you can create an optimized WordPress installation using WordOps.
If you are unfamiliar with the options you have seen in this command, then I strongly suggest that you take some time to understand what these options mean and what alternatives are available to these options, so that you can easily configure the installation according to your needs.
I will explain these options further in this tutorial, but you should definitely check all of them out in the WordOps documentation. They are all laid out very clearly.
If you think WordOps is right for you, let's take a closer look at how it helps you with WordPress administration/configuration/installation.
Using WordOps to Install WordPress Automatically on Ubuntu 22.04
Prerequisites
- Access to a server running Ubuntu 22.04, with at least 1GB RAM. If you plan to have a larger, more dynamic site then we recommend 2GB+ RAM
- A domain pointing to your server
- We recommend being logged in as a non-root sudo user. This is because when you’re acting as root you run the risk of harming your system if you’re not careful.
Step 1 – Download & Install WordOps
To perform the automated install, run the following command, which downloads and runs the WordOps install script.
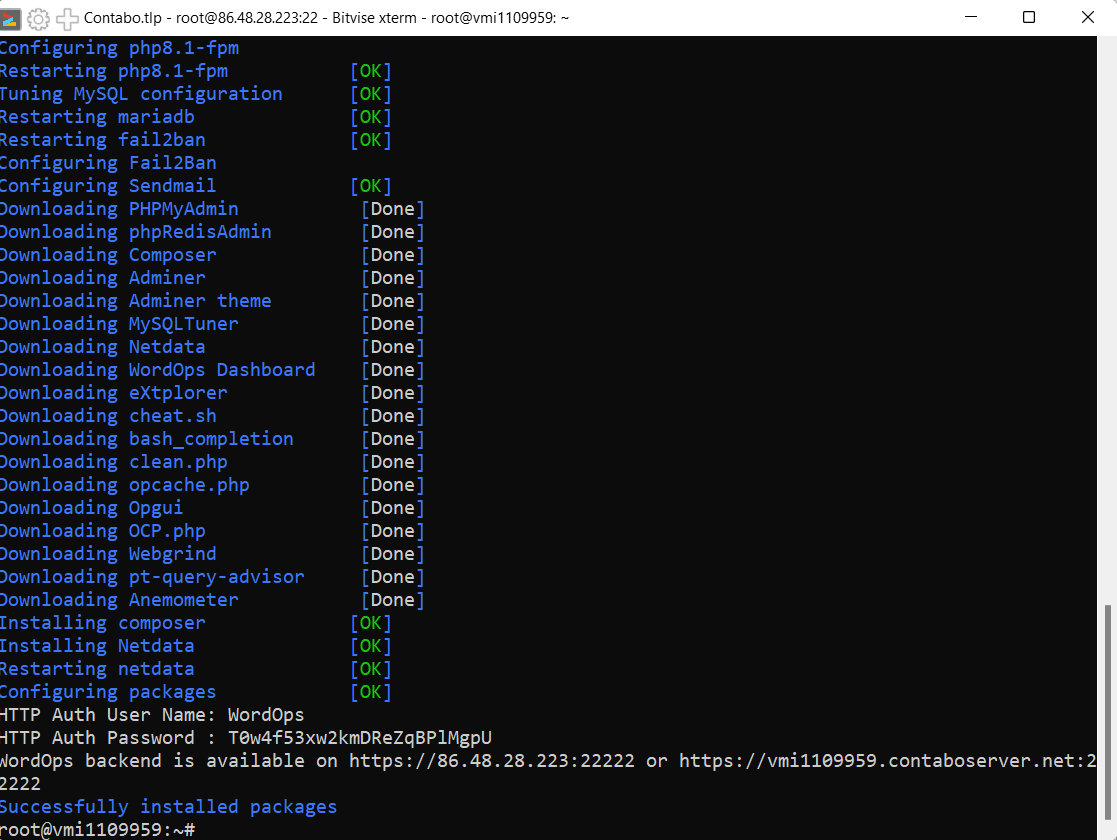
You will be asked to provide a username and email address at some point during the installation. This information will only be saved locally in.gitconfig. This file will be used to save server configurations. Here is my output:
wo stack install
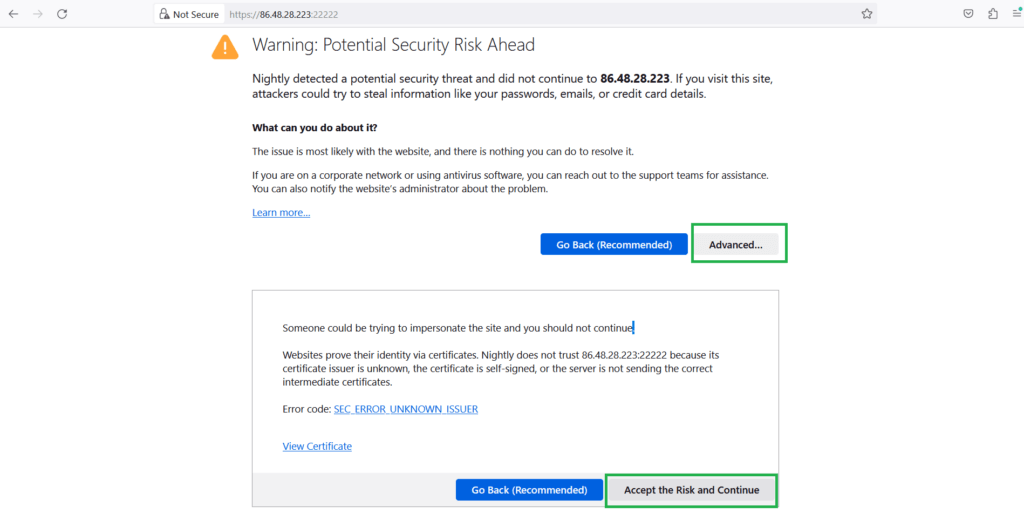
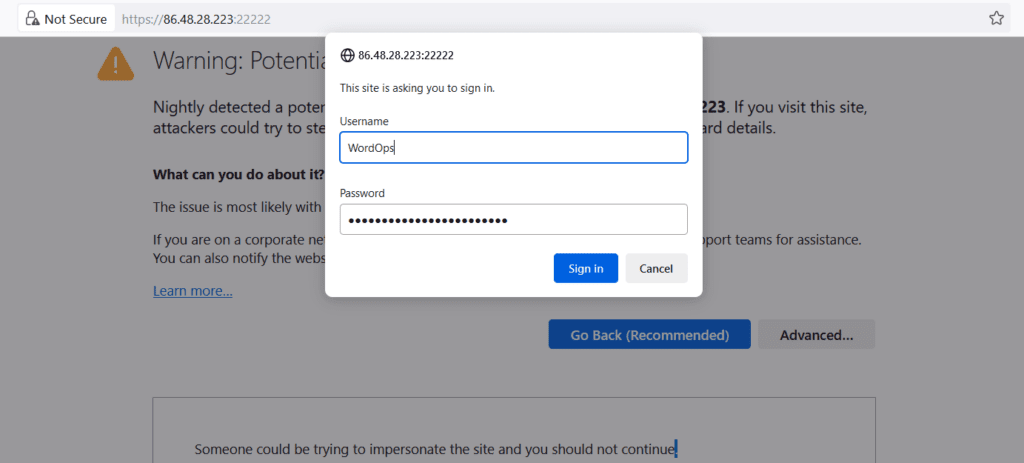
Step 2. Access WordOps
Then enter the username and password given by WordOPs.
$ sudo wo site create mrtest.site --php81 --letsencrypt --wpfc --hsts --user=Ed --pass="Thisisntmyp@ssword1234_"
HTTP Auth User Name: WordOpsHTTP Auth Password : khT8hHVNmxK7IQ7DzYaS3dQfWordOps backend is available on https://104.236.24.164:22222 or https://mrtest.site:22222WordPress admin user : EdWordPress admin password : Thisisntmyp@ssword1234_
Usefull WordOps Command fo Specific function
sudo wo site (command) [options]
# standard WordPress sitesudo wo site create yoursite.com --wp# WordPress site + Nginx fastcgi_cachesudo wo site create yoursite.com --wpfc# WordPress site + WP Super Cache & Nginx properly configured to work with itsudo wo site create yoursite.com --wpsc# WordPress site + WP-Rocket & Nginx properly configured to work with itsudo wo site create yoursite.com --wprocket# WordPress site + Cache-Enabler plugin & Nginx properly configured to work with itsudo wo site create yoursite.com --wpce# WordPress site + Redis Cache & Nginx properly configured to work with itsudo wo site create yoursite.com --wpredis# WordPress site + WP Super Cache & Nginx properly configured to work with it + Let’s Encrypt SSLsudo wo site create yoursite.com --wpsc --letsencrypt# WordPress site + WP-Rocket & Nginx properly configured to work with it + Let’s Encrypt SSL + PHP 8.1sudo wo site create yoursite.com --wpsc --letsencrypt --php81# WordPress site + Nginx fastcgi_cache & Nginx properly configured to work with it + Let’s Encrypt SSL + PHP 8.1 + HSTS Enabledsudo wo site create yoursite.com --wpsc --letsencrypt --php81 --hsts


