WordPress is one of the most widely used CMS (Content Management System) tools for creating and running websites. It’s a free, open-source PHP-based platform that can be used to create and manage websites. It can be used in conjunction with a MySQL database or a MariaDB database to manage your website.
WordPress is known for its easy-to-use interface and a vast selection of themes, plug-ins, and customizations. It is accessible to users of all levels of technical knowledge.
Let’s take a look at how to set up WordPress in Debian 12 with Nginx, CGI cache, Redis Cache, Wp login Security .
Setup WordPress in Debian 12 with Nginx, CGI cache, Redis Cache, Wp login Security
Step 1: Update Operating System
# Update Your Debian Vpsapt update && apt upgrade
# Install Necessary packagesapt install nano wget unzip
Step 2: Install Nginx web server on Debian 12
# Install Nginx in Debianapt install nginx
# After Nginx installed Run and enable Nginxsystemctl start nginx systemctl enable nginx
# systemctl status nginx
● nginx.service - A high performance web server and a reverse proxy serverLoaded: loaded (/lib/systemd/system/nginx.service; enabled; preset: enabled)Active: active (running)Docs: man:nginx(8)Process: 674 ExecStartPre=/usr/sbin/nginx -t -q -g daemon on; master_process on; (code=exited, status=0/SUCCESS)Process: 873 ExecStart=/usr/sbin/nginx -g daemon on; master_process on; (code=exited, status=0/SUCCESS)Main PID: 875 (nginx)Tasks: 2 (limit: 2273)Memory: 4.5MCPU: 402msCGroup: /system.slice/nginx.service├─875 "nginx: master process /usr/sbin/nginx -g daemon on; master_process on;"└─876 "nginx: worker process"
Step 3: Install PHP and PHP extensions for WordPress
# Install PHP and Other Supporting packagesapt install php php-curl php-fpm php-bcmath php-gd php-soap php-zip php-curl php-mbstring php-mysqlnd php-gd php-xml php-intl php-zip
# Verify PHP versionPHP - V
# Output PHP 8.2.7 (cli) (built: Jun 9 2023 19:37:27) (NTS)
Copyright (c) The PHP Group
Zend Engine v4.2.7, Copyright (c) Zend Technologies
with Zend OPcache v8.2.7, Copyright (c), by Zend Technologies
# nano /etc/php/8.2/fpm/php.inimax_execution_time = 300
memory_limit = 512M
post_max_size = 128M
upload_max_filesize = 128MStep 4: Install MariaDB Database Server
apt install mariadb-server mariadb-client# systemctl start mariadb# systemctl enable mariadb# systemctl status mariadb● mariadb.service - MariaDB 10.11.3 database server
Loaded: loaded (/lib/systemd/system/mariadb.service; enabled; preset: enabled)
Active: active (running)
Docs: man:mariadbd(8)
https://mariadb.com/kb/en/library/systemd/
Main PID: 959 (mariadbd)
Status: "Taking your SQL requests now..."
Tasks: 12 (limit: 2273)
Memory: 256.5M
CPU: 6.621s
CGroup: /system.slice/mariadb.service
└─959 /usr/sbin/mariadbd# mysql_secure_installationRemove anonymous users? [Y/n]: Y
Disallow root login remotely? [Y/n]: Y
Remove test database and access to it? [Y/n]: Y Reload privilege tables now? [Y/n]: Y
# systemctl restart mariadbStep 5: Create a New Database for WordPress
# mysql -u root -pMariaDB [(none)]> CREATE DATABASE wordpress_db;
MariaDB [(none)]> GRANT ALL PRIVILEGES ON wordpress_db.* TO 'wordpress_user'@'localhost' IDENTIFIED BY 'password';
MariaDB [(none)]> FLUSH PRIVILEGES;
MariaDB [(none)]> EXITStep 6. Install Redis
# sudo apt install redis # sudo apt install php-redisStep 7: Download WordPress
# nano /etc/nginx/conf.d/wordpress.conf
    server {

    server_name  your-domain www.your-domain;
    root   /var/www/html/wordpress;
    index  index.php;

    access_log /var/log/nginx/your-domain.com.access.log;
    error_log /var/log/nginx/your-domain.com.error.log;

    client_max_body_size 100M;

    location / {
     try_files $uri $uri/ /index.php?$args;
      }

    location ~ \.php$ {
         include snippets/fastcgi-php.conf;
         fastcgi_pass unix:/var/run/php/php8.2-fpm.sock;
         include fastcgi_params;
         fastcgi_intercept_errors on;

        fastcgi_cache my_cache2;
        fastcgi_cache_key "$scheme$request_method$host$request_uri";                 fastcgi_cache_valid 200 302 1h; # Cache 200 and 302 responses for 1 >        fastcgi_cache_valid 301 1d;     # Cache 301 responses for 1 day
        fastcgi_cache_min_uses 1;                                                    fastcgi_cache_use_stale updating error timeout invalid_header http_5>
    }
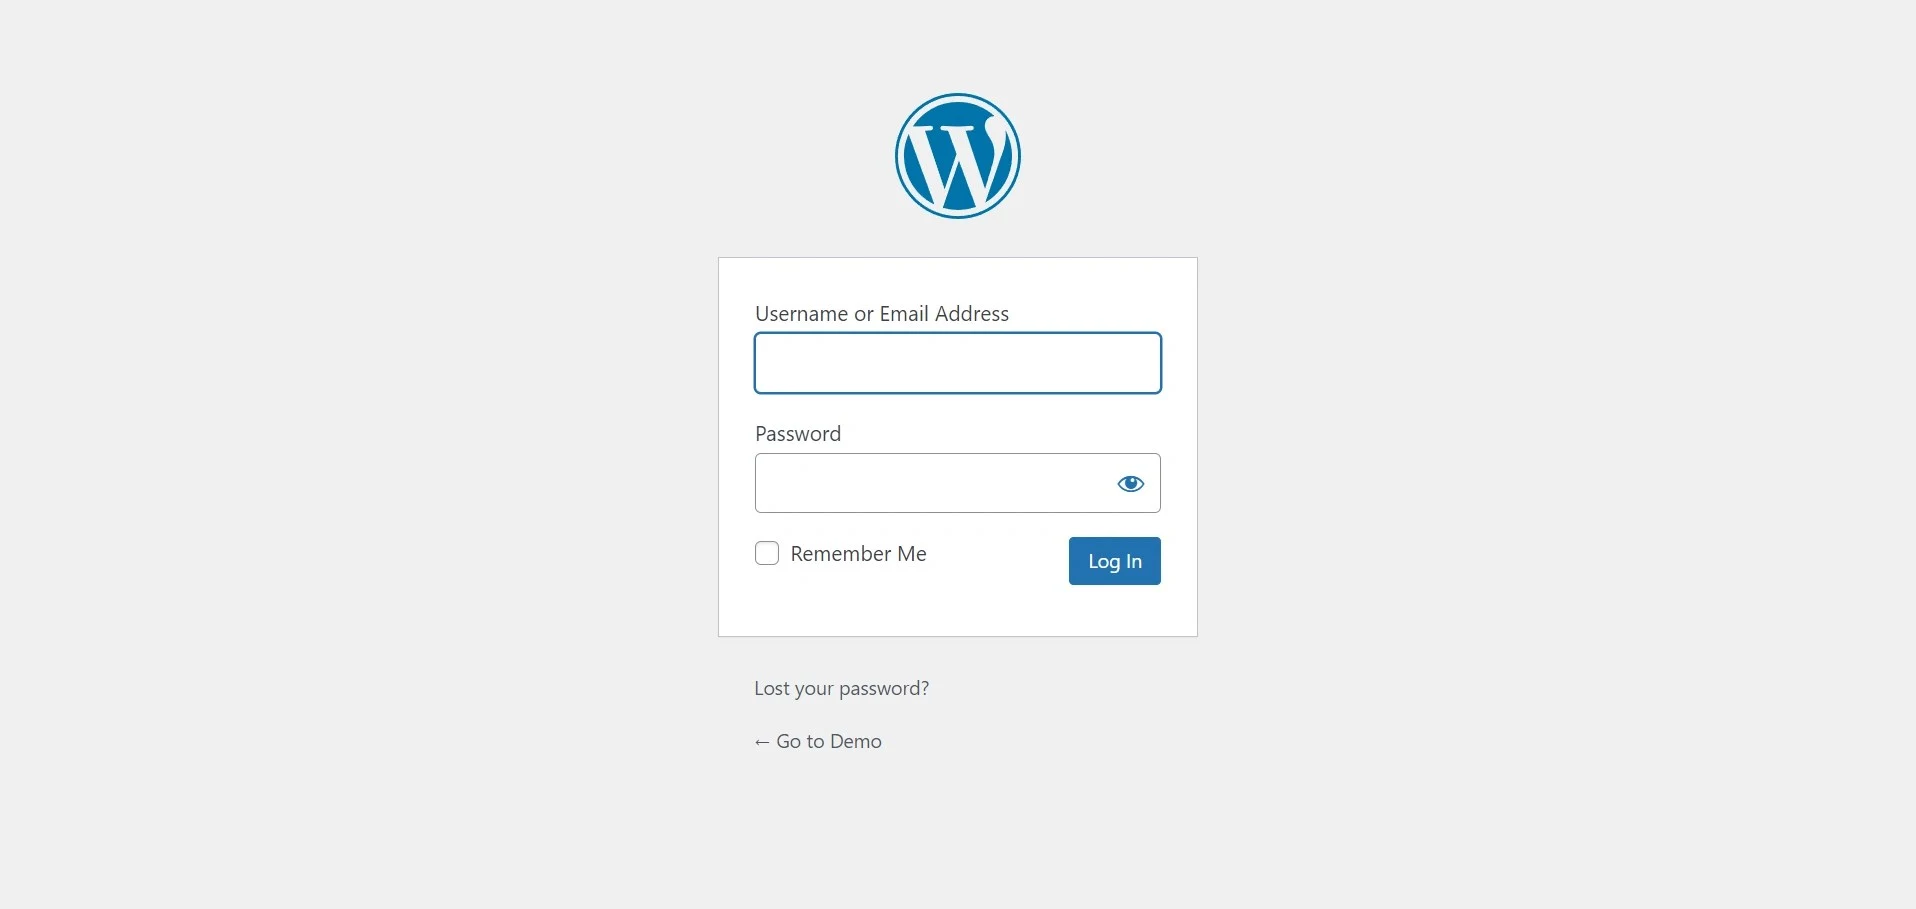
   location ^~ /wp-login.php {                                                   auth_basic "Restricted Access";
    auth_basic_user_file /etc/nginx/.htpasswd;

    # Other WordPress-related configurations
}
Configure FastCGI Cache:
Create a common configuration file in /etc/nginx/nginx-wp-common.conf:
# nano /etc/nginx/nginx-wp-common.conffastcgi_cache_path /var/cache/nginx levels=1:2 keys_zone=CACHEZONE:10m max_size=10g inactive=60m; fastcgi_cache_key "$scheme$request_method$host$request_uri"; fastcgi_cache_use_stale updating error timeout invalid_header http_500;
htpasswd command to generate a password file. Replace your_username with your desired username.sudo htpasswd -c /etc/nginx/.htpasswd your_username
You will be prompted to enter and confirm the password.
Now you have to restart all the services like Nginx web server, Mariadb mysql, PHP services and redis services. Run following command given below.
sudo service nginx restart
sudo service php8.2-fpm restart
sudo service mysql restart
sudo service redis-server restart
Now install the wordPress core file into your virtual private server. Run the given below command one by one in your terminal. We will now download the latest version of WordPress from the WordPress Official site.
Use the following command to download WordPress:
# wget https://wordpress.org/latest.zip
Extract file into the folder /var/www/html/ with the following command,
# unzip latest.zip -d /var/www/html/
# cd /var/www/html/wordpress
# cp wp-config-sample.php wp-config.php
# nano wp-config.php
/** The name of the database for WordPress */
define( 'DB_NAME', 'wordpress_db' );

/** MySQL database username */
define( 'DB_USER', 'wordpress_user' );

/** MySQL database password */
define( 'DB_PASSWORD', 'password' );

/** MySQL hostname */
define( 'DB_HOST', 'localhost' );# chown -R www-data:www-data /var/www/html/wordpress/
Step 8. Final Settings install Nginx Certbot for issue Let's encrypt SSL Certificate for Your Domain
# sudo apt install python3-acme python3-certbot python3-mock python3-openssl python3-pkg-resources python3-pyparsing python3-zope.interface
sudo apt install python3-certbot-nginx
sudo ufw allow 'Nginx Full'
sudo ufw delete allow 'Nginx HTTP'
sudo ufw status
OutputStatus: active

To                         Action      From
--                         ------      ----
OpenSSH                    ALLOW       Anywhere
Nginx Full                 ALLOW       Anywhere
OpenSSH (v6)               ALLOW       Anywhere (v6)
Nginx Full (v6) ALLOW Anywhere (v6)sudo certbot --nginx -d your_domain -d www.your_domain


